 Alexandra Oakley
 Ranunculus are one of those flowers that look as though they belong in a professional cutting garden or a florist’s workshop, not in an ordinary back garden with a wonky shed and a zip-up plastic greenhouse. But I have been growing them for several years now, and while they are not always easy, they are absolutely possible without any special setup.
I should be honest from the start: ranunculus are more demanding than most things I grow. They need pre-soaking, careful timing, and a bit of patience. Some batches fail. Some years are better than others. But when they flower — those layered, papery, impossibly beautiful blooms in late spring — I always think the same thing: yes, they are worth it.
Why I still grow them despite the faff
Ranunculus fills the gap between tulips and roses — that stretch in late April and May when the spring bulbs are over but the summer flowers have not quite started.
That alone is reason enough for me. Without ranunculus, May can feel like a lull in the garden. With them, it feels like one of the best months of the year.
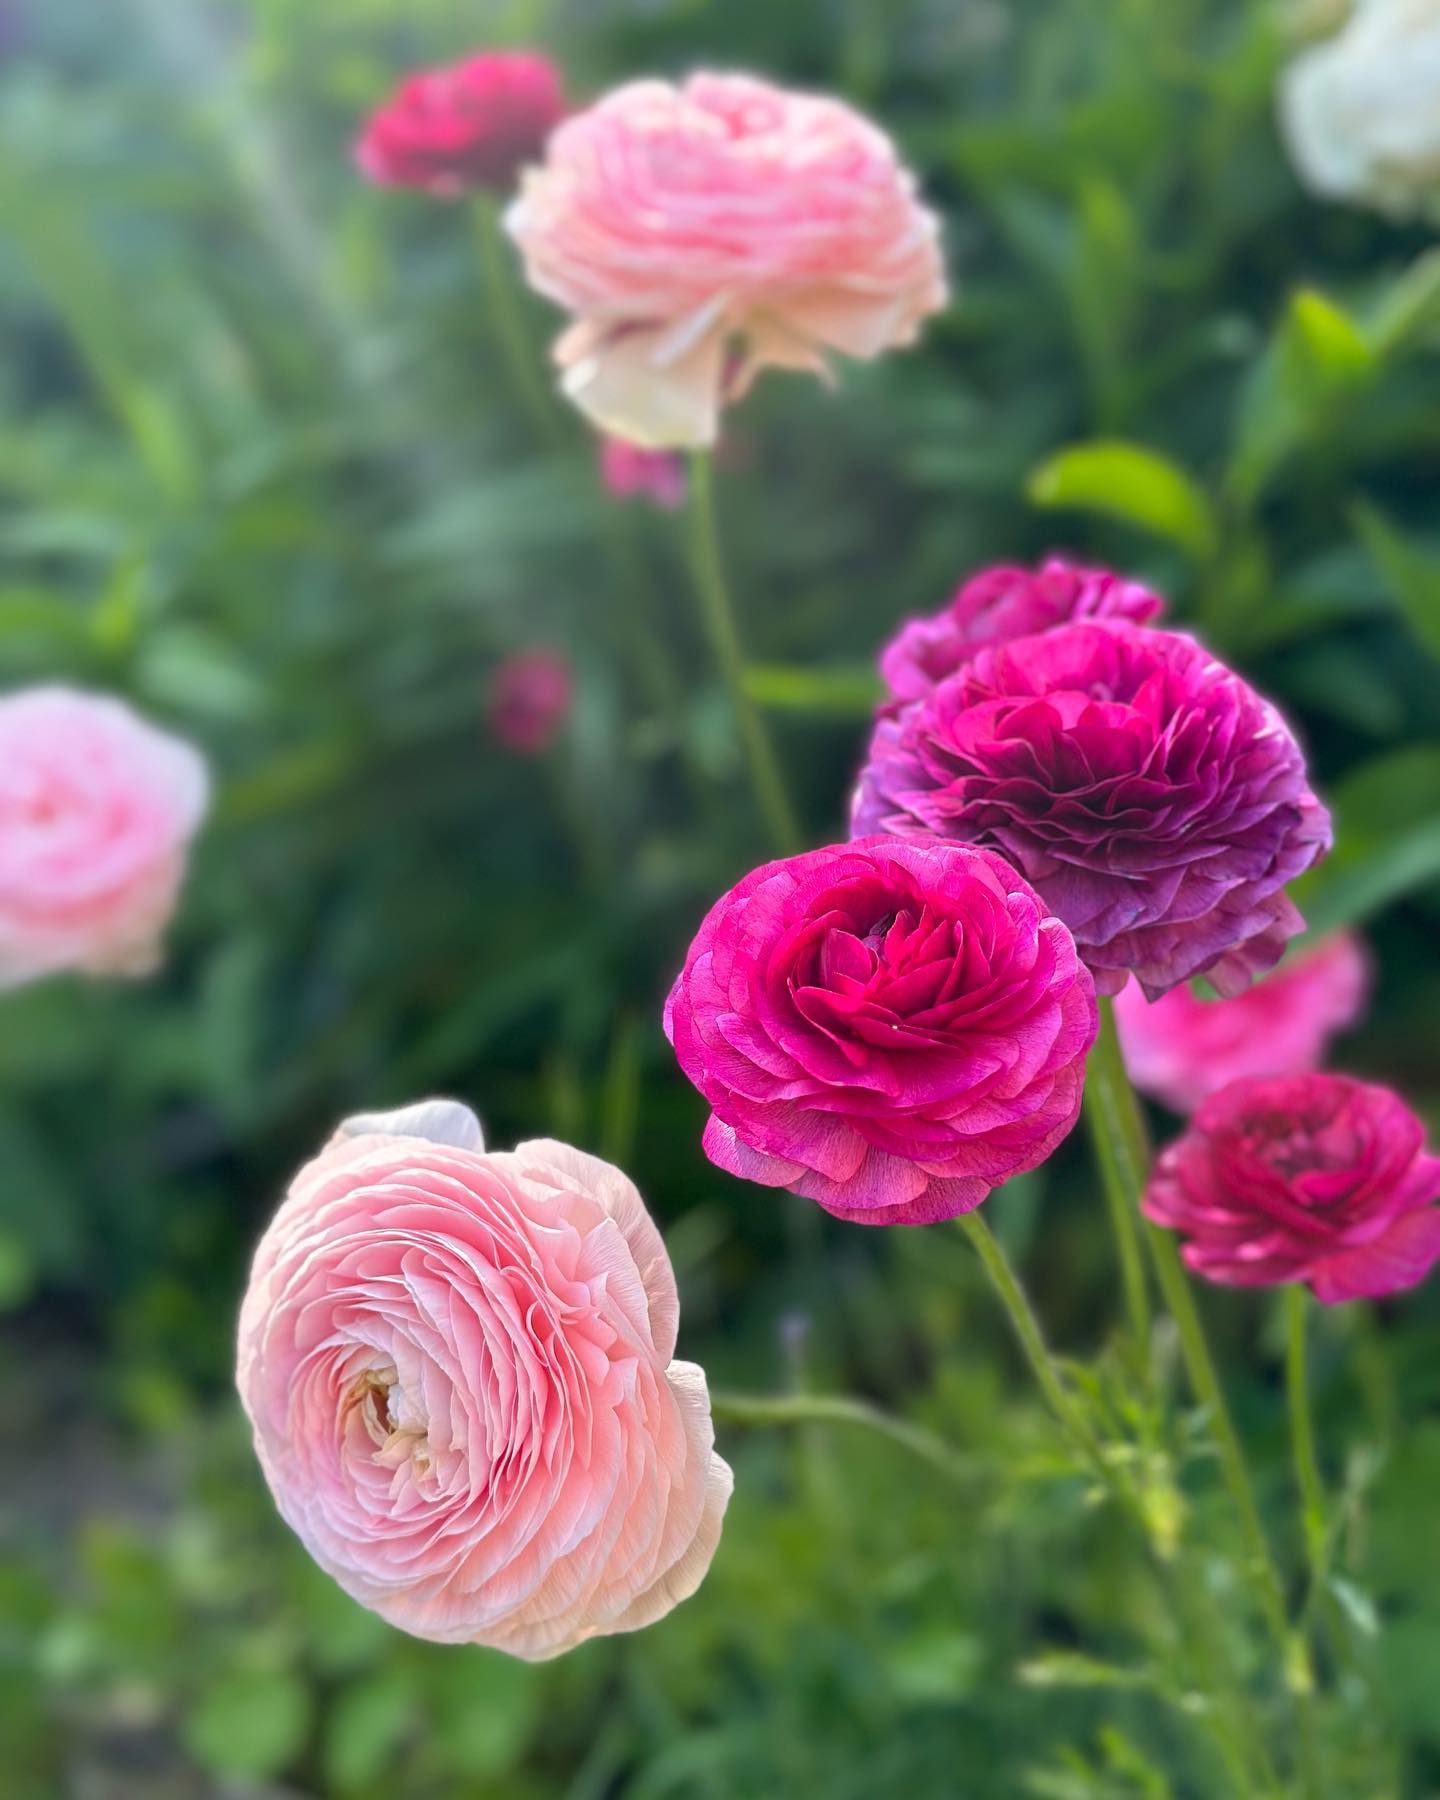
They are also extraordinary as cut flowers. A single stem in a small vase on the kitchen table is enough to make you feel unreasonably pleased with yourself. The colours — soft pinks, deep magentas, creams, peaches — are exactly the sort of thing I want more of in the garden.
When I start them and what timing still works
I typically do two batches:
Timing that works for me
Autumn sowing (October–November): gives the earliest flowers, usually late April into May.
January–February sowing: still works perfectly well — flowers come a couple of weeks later, but they are just as good.
If you have missed both windows, it is not worth waiting until next year. January and February are genuinely fine.
Soaking corms and getting them started
Ranunculus corms look like dried-up little claws, and they need soaking before planting. I soak mine for a few hours in lukewarm water — long enough for them to plump up noticeably. Do not leave them overnight or they can start to rot.
After soaking, I plant them into fifteen-cell seed trays with the claws pointing downward. They can stay in these trays until planting out, so there is no need to pot on — which makes the whole process simpler than it sounds.
Getting corms started
Soak: a few hours in lukewarm water until they plump up.
Plant: claws pointing down, into 15-cell seed trays.
Temperature: about 10°C to germinate — a cool room indoors works.
Water once, then leave them alone until you see growth. The biggest risk at this stage is rot from overwatering.
I start them indoors just to get consistent temperature for germination. Once I see sprouting — usually ten to fifteen days — I move them out to the shed where it is cooler and brighter. Keeping them indoors too long makes them leggy and weak, which I learnt the hard way in my first year.
Growing them on without a greenhouse
My ranunculus spend winter in the same places as everything else: the potting shed, the cold frame, or the zip-up greenhouse. They do not need heat. They need light and protection from the worst frost.
On very cold nights I throw fleece over them. The rest of the time they sit there quietly, growing slowly, which is exactly what you want.
I keep a lid on the trays until everything has sprouted, mainly as rodent protection. Mice will dig up freshly planted corms if given the chance.
The main risk is not cold itself but a combination of cold and wet, which is when rot becomes a problem. Good drainage in the trays and not overwatering are more important than temperature.
When I plant them out
I plant the autumn-sown batch out from late February into March, depending on the weather. The key thing is not to leave them too long in their trays.
Ranunculus do not like getting root bound. If the roots start circling the bottom of the cell, the plant stalls. Get them in the ground before that happens.
I have been borderline with this more than once — trays bursting with roots by the time I finally got around to planting out. They still flowered, but I think they would have done better with more room sooner.
The January-sown batch needs a bit more time before it is ready to go out. I usually plant those in March or early April.
Why they fail
I want to be straightforward about this because I think too many guides make ranunculus sound easier than they sometimes are. Things that have gone wrong for me:
- Rot after planting. Usually from overwatering the corms before they have established. Water once when you plant, then leave them until you see growth.
- Leggy, weak seedlings. From leaving them indoors too long after germination. Move them out to better light as soon as they sprout.
- Whole batches failing. One year an entire variety — Picotee Cafe — failed completely while the Purple Jean corms right next to them were fine. Sometimes it is corm quality, not anything you did wrong.
- Slugs. Young ranunculus plants are vulnerable when first planted out. Nematodes help.
- Cold snaps. A late hard frost can damage plants that have been planted out early. Fleece is your friend.
How I use them in the garden and in vases
I grow my ranunculus in the borders, not in rows for cutting. They sit among other plants — cerinthe, ornamental grasses, nectaroscordum — and they look completely at home there. I do not think ranunculus needs to be treated as a specialist crop. It works beautifully as a border plant.
That said, I always cut some for the house. They last well in water and a few stems in a jug is genuinely one of the loveliest things the garden produces all year.
The colours I come back to most are the soft pinks and the deeper magentas — they work with almost everything in the late spring garden. I have also tried mauve, peach, and some of the newer striped varieties. Not all of them have been successful, but the ones that work are extraordinary. If you are choosing your first batch, I would start with a straightforward pink or blush and add more adventurous colours once you have the process down.
Are they worth the effort?
Yes. But they are not for you if you want something completely reliable and low-maintenance. There will be years when a batch fails, or slugs get to them, or the timing does not quite work out.
What makes them worth it is the reward when they do work. Those layered blooms in late spring, in colours that nothing else in the garden quite matches, filling the gap between the last tulips and the first roses.
They are divas, yes. But they are the kind of diva that makes you glad you put in the effort.